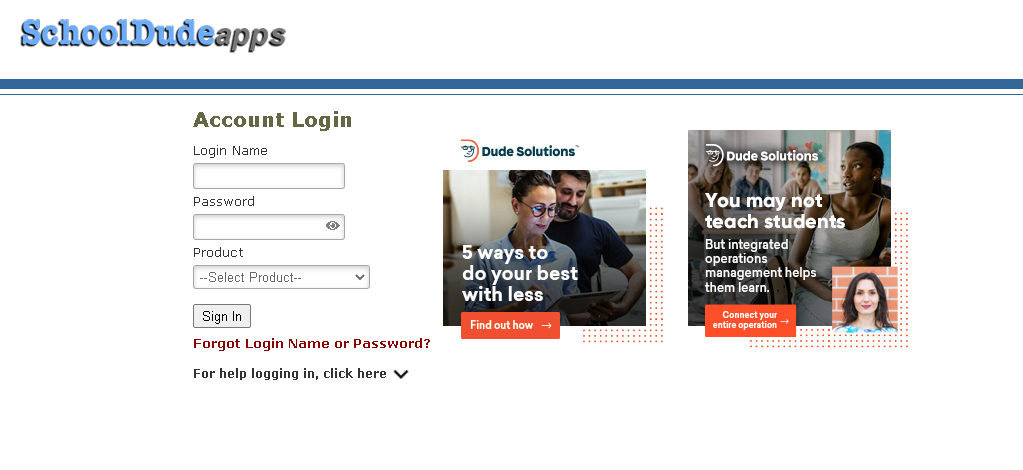
Click here to login to Schooldude
(Or go to the Zenworks Application Launcher, and click on the icon labeled "Work Order Approval".)
Once the SchoolDude application opens, login with your username and password. Make sure to select "Maintenance Direct" in the "Go To" box. Now, click on "Sign In".
Print Request Instructions
These are the instructions to follow when creating a print request for a printing to be done at the USD 501 Service Center Print Shop.
Once you are logged in, follow the instructions below:
- Status: Select "New Request"
- Priority: Select "Medium" from drop down list.
- Location: Provide the location of the facility submitting the request from the drop down box.
- Request description: Please describe details of the job you are submitting to be printed. Describe every piece of information needed to create the printed material desired, using the list below:
- Account Strip: Fund.Center.Function.Object Code- i.e. 1106.XXXX.XXXX.0559;
- Project name;
- Number of originals;
- Total finished copies wanted;
- Job Description: (please read through this list and select where appropriate) Indicate paper type (if NCR paper, indicate 2,3, or 4 part); paper color; color or black ink; reduce; collate; corner or side staple; three-hole punch; pad; fold; cover; bind; plastic combs. If originator is other than contact person, place their name and contact information here.
- Purpose: scroll to the bottom of request to select "General Maintenance"
- Craft: move right to "Craft" (Bottom right) and select "Print Shop"
- Click on Save to send print request to the Print Shop.


Notes:
-
Maintenance Direct attachments can be sent with the print request.
- First, create and save the request.
- After request is created, scroll down to "File Attachments."
- Click "Attach new file" and save (This works just like attaching a document to an email).
- Click "Submit" to attach.
- Click "Back to Work Order" to view attachments at bottom of work order.
- You also have the option to email documents to the Print Shop.
- When you email documents to the Print Shop, include the Work Order number on the request.
- Contact Nicki Jones, [email protected]; phone extension 3921.
- If you are sending a hard copy to the Print Shop, you need to send a copy of the printed work order along with the hard copy in the Pony mail, or hand deliver to the Print Shop at the Service Center.
- To print a work requisition you must first save it; scroll to the bottom left hand corner of the request and select "Print Form."
- A solution for those of you that have a request with several different documents to be printed: you could create a simple Excel spreadsheet listing the name of each document, number of originals, and number of copies to be printed. Then attach that spreadsheet to the work order along with the documents to be printed.
- Sample description for a print request:
- 1106.XXXX.XXXX.0559
- Project Name: School Calendar
- Number of Originals: 100
- Total finished copies: 50
- Paper Type: Cardstock
- Paper Color: White
- Color of ink: Black
- Deliver to: Mary Smith
- Due Date: June 1, 2019